
I realize it’s February but last fall was crazy, so you’re getting your annual Christmas ornament tutorial three months late. Better late than never, right?
This year, I decided that we should add a manger to the nativity scene that we’ve been sewing over the past few years for our church’s annual ornament sale. We’ve already made a star, an angel, and a sheep. I used this ornament as inspiration but the design is my own.
While they were there, the time came for the baby to be born, and she gave birth to her firstborn, a son. She wrapped him in cloths and placed him in a manger, because there was no guest room available for them.
Luke 2:6-7
I hope you enjoy making this manager scene!

Supplies you’ll need to make one manger scene:

- small amounts of light brown and light blue felt plus one small piece (not pictured) and two larger pieces of dark brown felt. The larger pieces of brown felt need to be able to fit all three pieces cut from the templates on them. (I prefer premium acrylic felt for making ornaments. They end up feeling much nicer. Wool felt would be even better)
- light brown, light blue, and dark brown embroidery thread to match your felt
- one 8-inch piece of narrow white ribbon
- the templates and thin cardboard to make the templates sturdier, if desired (Click here – Baby Jesus in the Manger templates – to download the Word file that has the template in it. You can modify the size for a bigger or smaller manger. Click here – Baby Jesus in the Manger templates – if you want the template as a PDF.)
- permanent marker, needle and sharp scissors
- Instructions for a knot-less start for thread (so EASY!) are at the bottom of this post.
Instructions (or “constructions” as Ellie calls them!):
1. Using the templates, cut out one head in light brown, one blanket in light blue, and one manger in dark brown. If you’d like, you can trace the shape onto the felt using a permanent marker. If you do this, be sure to cut just inside the marker line so that the marker doesn’t show on the ornament. Otherwise hold the template to the felt and cut out the shape.
2. Arrange all three pieces on one larger piece of the dark brown felt. Make sure they can fit comfortably, i.e. that your large piece is large enough.

3. Using dark brown thread, a knot-less start, and a running stitch, sew the manger to the bottom of one of the larger pieces of dark brown felt.

4. Prepare to sew on the blanket. The two sides of the blanket are curved slightly differently. One is to nestle next to the head and one is the “feet”. Make sure you place the blanket correctly on the manager.
 wrong!
 right! You’ll probably notice that the curves don’t match up exactly, even when you have it arranged correctly. That’s because felt is impossible to cut completely accurately, particularly when curves are involved. That’s OK. We’ll fix it when you sew on the head.
5. With light blue thread, start by sewing along the bottom edge of the blanket, to assure that you are sewing it securely against the manager. Then sew the rest of the way around.
 6. [No picture for this one.] Using light brown thread, sew on the head. Make sure you push the head up against the blanket, so that it fits snugly. You may have to push it a little out of shape to get the curves to fit correctly.
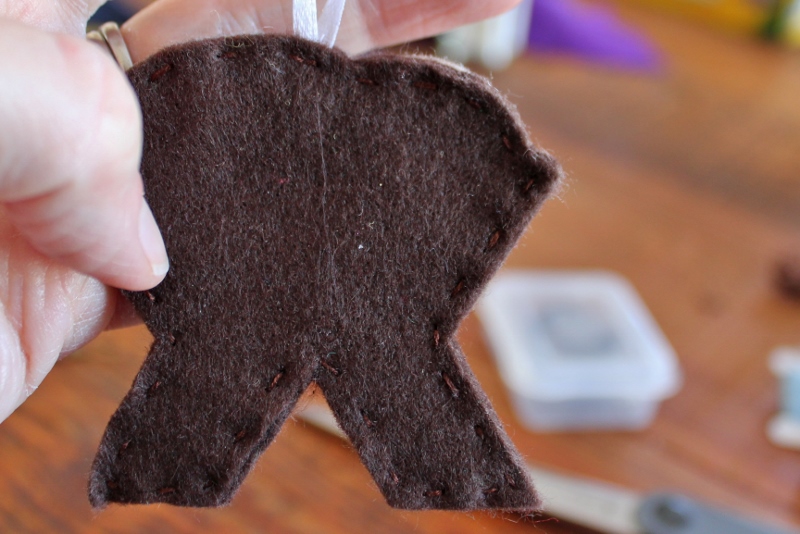
7. Place the second large piece of dark brown felt against the back of the first piece.

Cut around the perimeter of the sewn pieces so that there isn’t any extra brown felt showing.

Alternately, if you are finding it too difficult to cut both pieces at once, just cut around the shapes sewn onto the first piece of felt, place that onto the other big piece of brown felt, and cut out that one.
8. Separate the two pieces. Fold the ribbon in half to form a loop and sew the two cut ends to the inside middle, somewhere around the top of the blanket. (See the end of this tutorial for a bonus tip about ribbon arrangement.)

9. Place the back piece of dark brown felt into place and sew the two parts together. This part is a bit tricky because you can’t go through to the front layer when you’re sewing. You want to catch only the two dark brown layers. There are two ways I found to do this.
First, you can push your needle into and out of the felt, putting one complete stitch on your needle before pulling it through. I found that this worked well on the straight and slightly curved sections.

Alternately, when you are working on the curves or turning corners, I recommend pushing the needle out between the top and middle layers and then going back in again. It gives you a bit more control as to where the needle goes.

When you’re finished, tie off your thread and you’ll have a completely dark brown back and a lovely front. You sewed a manager scene! Ta da!
**********
Bonus: How To Loop Your Ribbon
This may seem a bit obsessive (because it probably is) but I have sewn so many ornaments over the past few years, I’ve had time to get obsessive. I’ve found that I prefer to loop my ribbon in a particular way in order to allow the ornament to hang more nicely on the tree.
There are two options when you are getting ready to sew on your ribbon.
1. [NOT recommended!] Fold the ribbon in half, and place the pieces together. (This is the way you probably would do it if you’re not obsessing about it.)

2. [This is the BEST way!!] Fold the ribbon in half, give one side a twist, and then put the two pieces together. This makes the two ends lie flat, makes it easier to sew onto the felt, and also allows the ornament to hang facing the correct way on the tree.
 Try it! It will make your ornament sewing life at least five percent better! 🙂

Pingback: Finish Up Friday: 2015 Edition, Update #1 – I accomplished a few things! (Plus – THIS COLD!!) | Salmon and Souvlaki
Pingback: Ellie’s Sewing: Her First Two Independent Projects | Salmon and Souvlaki