
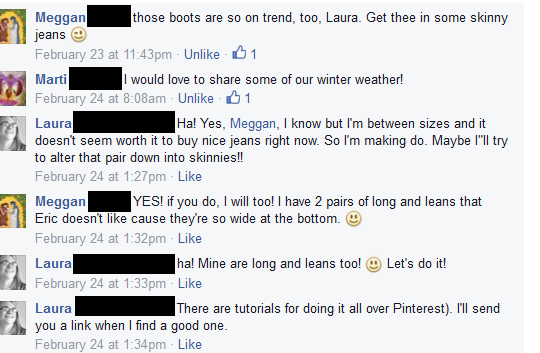
Last week, I posted about our fun day out in the snow, including a picture of me, wearing my mother’s boots. On Facebook, my sister-in-law and I had this conversation:
 24 minutes later, I was searching around Pinterest for a tutorial or two that I found useful and Meggan had actually sewn a pair and was making plans for the second! 🙂
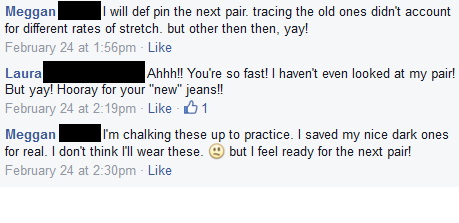 This, by the way, is Meggan and me in a nutshell – she plunges in and makes mistakes but actually gets some stuff done. I over-think, over-plan and often just don’t do anything. I didn’t have to throw away my first pair but it did take me 11 days to finish the first pair, rather than 24 minutes! Actually, probably the only reason I even got around to doing this is because I’d told Meggan I’d do it with her (and then had to keep up my end of the deal.) I suppose the world needs people like both of us!
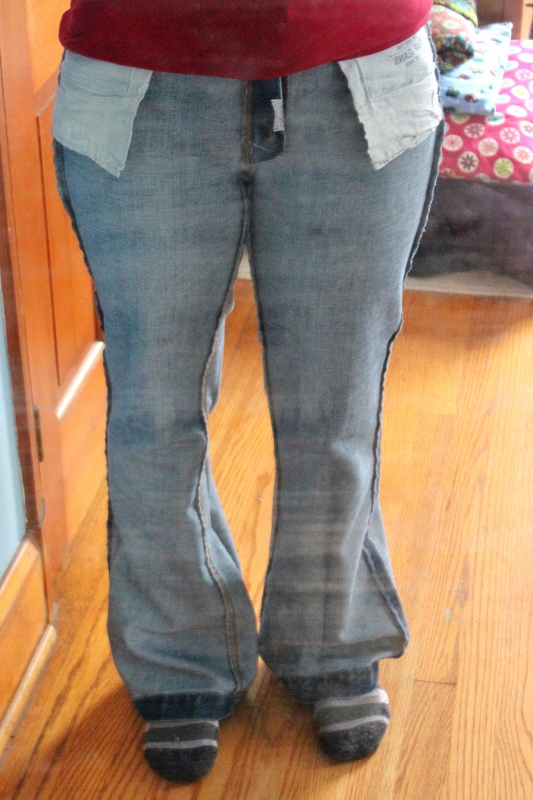
Anyway, here’s the jeans that I decided to turn into skinnies. I had bought them for $8 at Savers a few weeks ago. They were, admittedly, far out of trend but for $8, I figured I wasn’t going to be picky. (And let me apologize in advance for my mirror. I promise I washed it before taking all these pictures but it has weird scratches on it too.)
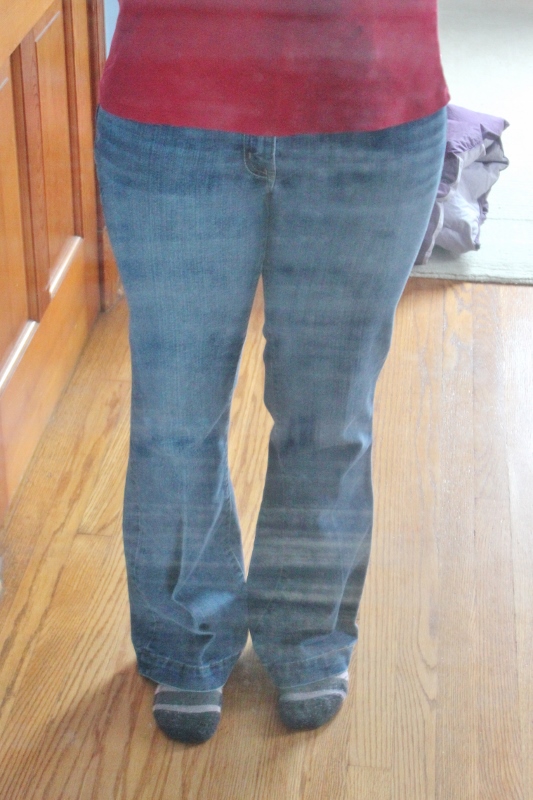
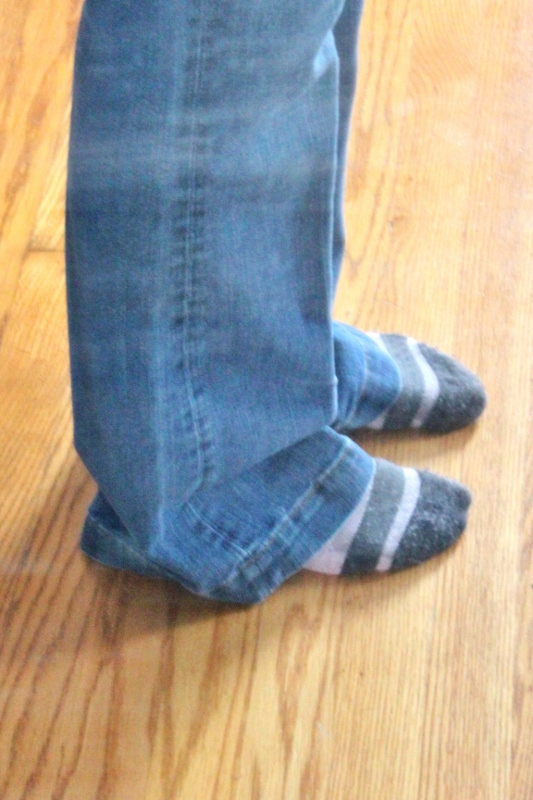 way too long too, even though I claimed they weren’t
Here’s how I did it. First, I put them on inside out.
 Then I pinned down the outside of one leg. I decided that I didn’t want true skinny jeans but closer to this pair of matchstick jeans that I loved so much, I wore them out.
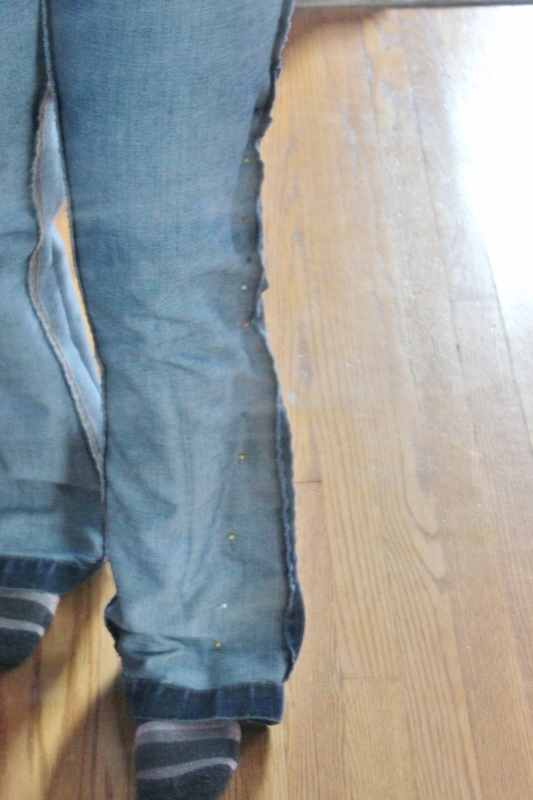 I took them off, marked the pin line with a fine-line Sharpie, took out the pins, adjusted the line so it would look good when sewn (particularly tapering the top), and then sewed down that line, plus chopped off 2.5 inches off the bottom.
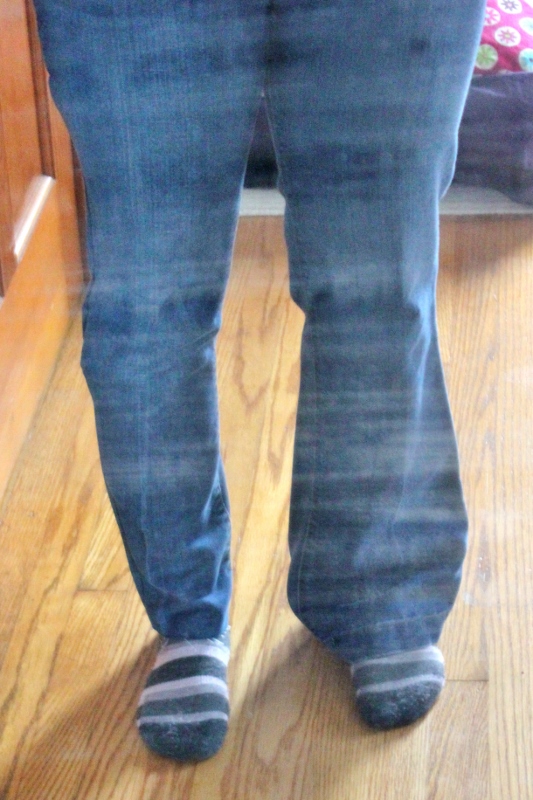 halfway done, trying them on to make sure the first leg is OK.
Then I turned them inside-out again, lined up the two legs (this is fiddly to get right) and traced the first leg onto the second.
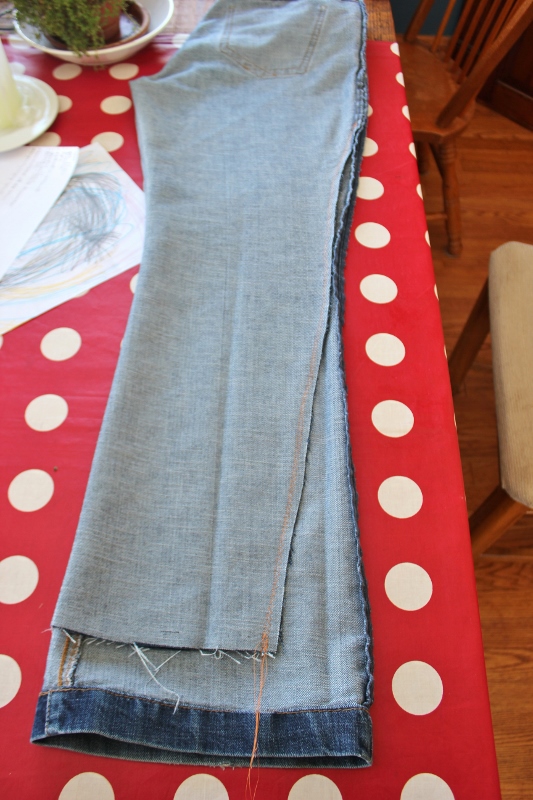 After sewing the second leg (using the new line to sew 1/4″ inside of that), zig-zagging the seam allowances, and doing a really simple lazy hem (didn’t even fold it under twice), I have a new pair of jeans! (I also really heavily ironed the new seams, which gave them a nice edge, making them look not quite so new.)

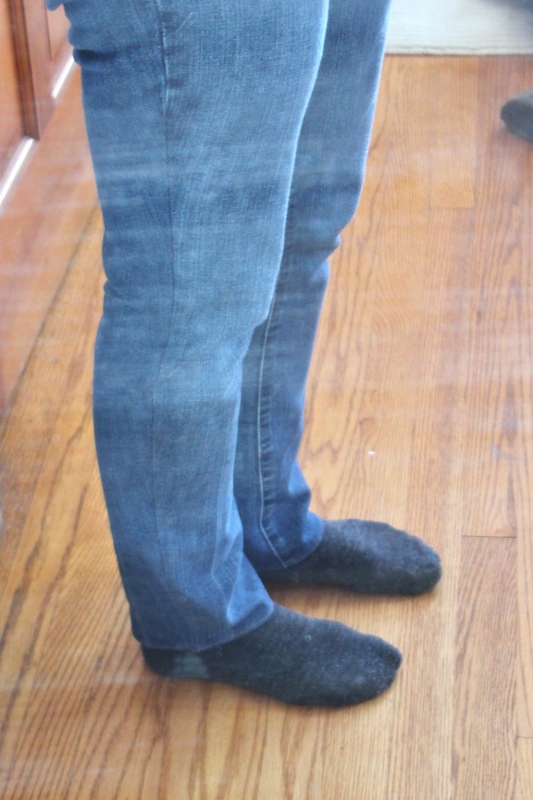 My new side seam starts near the top of the picture, where the fading goes away.
I basically followed this tutorial, with my own tweaks. I did appreciate her careful instructions and clear pictures. Thanks to Meggan for giving me the motivation to actually try this and to Harmony for giving me the idea a year ago, back when I posted about hemming my other jeans!
**********
P.S. I’m sure you know this already, bu don’t believe everything Pinterest tells you.
For example, Pinterest told me I should be able to alter the jeans really quickly. This tutorial said, “It took me less than a half an hour.” Really? How in the world can you expect to a good job on any sewing project, but particularly altering a whole pair of jeans, in 30 minutes? Meggan just went for it on her first pair and only took 24 minutes. However, she admittedly made some mistakes, decided to discard that pair (she wasn’t wearing them anyway) and chalked it up to learning for her next pair. I took probably around 90 minutes to do mine, admittedly longer than I probably needed but they ended up looking pretty OK.
Pinterest also gave me bad instructions. This tutorial said, “Make sure you do this [new] seam on the inside of the leg.” No – don’t do that. The outside seam on jeans is much easier to alter than the inside seam (which is usually top-stitched). Also, if you need to do any altering in the thigh area (as I did), you’ll need to use the outside leg seam.
All over Pinterest, the pins exclaimed, “It’s so easy! It looks great! Do it right away!” Well, in theory it is easy but to get them to fit you correctly does take some care. It also takes the right pair of jeans for it to look great. Mine have a faded line that went down the middle of the front of the jeans. Now, it angles off to the side. It’s not a big deal but annoying to perfectionist me. I probably will try this again with other thrift store jeans but will make sure to buy jeans, keeping in mind that the original fading matters. (The fading looking bade is partly what did in Meggan’s first attempt.) Also, as another friend just pointed out to me on Facebook, bootcut/flare jeans rarely have the amount of stretch in them needed to make skinny jeans truly comfortable.
SO…definitely try this but as with all things Pinterest, use your brain too!

Your jeans look great! I just did this a few weeks ago and blogged about it as well (http://sewlindsaysew.com/2015/01/26/the-skinny-on-alterations). I really enjoyed being able to control the amount of “skinny” this way — store-bought skinny jeans are way too claustrophobic!
And I completely agree with everything you said about the Pinterest comments. I moved really slowly and also made my alterations with care. I don’t think it’s wise to rush through garments, especially when trying to equally match the two legs. If I’m going to brag that I was able to make the alterations, the last thing I want is for them to look rushed!
Thank you Lindsay! Yours look great too! I’m not convinced I’m going to wear these for that long because I’m feeling a bit claustrophobic in them. It was a fun experiment anyway!