This is Part Two of my Color Book Tutorial/Sew-Along. For an introduction to this tutorial and to see the finished book and a table of contents for all the parts, see this post.
Don’t forget to enter the giveaway!
In this post, you’ll learn how to do foundation piecing, which is a useful sewing skill to have and not just for color books. I learned how to do it when sewing these scarves. Foundation piecing is useful whenever you want to sew two fabrics together that are either imprecisely cut or of varying weights (like a lightweight cotton to a heavy knit. Basically, you sew the fabric that you will see to another piece of fabric that is hidden (i.e. the foundation). Another nice benefit of foundation piecing is that it give your piece a nice weight and feel (due to the extra fabric), something that is quite useful when making these color books.
Some general directions to follow for this part of the project:
#1 – Put away your rotary cutter! Use sharp fabric scissors and do a passable cutting job.
#2 – Don’t worry about cutting perfectly straight lines. Trust me.
#3 – All seams, other than the first one for the first triangle, are sewn at 1/4 inch.
#4 – Don’t bother to trim your threads or backstitch any of your seams for this section of the book. Both the threads and backstitching will get trimmed off anyway so don’t waste time doing it. (This does go against good sewing habits, I know!)
Let’s sew our pages!
1. Decide the order of the fabrics in your block. I like to set them out at an angle so I see how they will look in the block. Once you have the arrangement to your liking, stack them up in order with the bottom right corner fabric on the bottom of the pile.
 the stack for this square (from bottom to top): brown/pink leaves, pink polka dots, owls, small pink dots, large irregular ovals.
2. Begin the block by cutting out a triangle. This triangle can be at any angle and of any size. Try not to make it too big though as you will need to sew on four more fabrics! Whatever angle you choose for the bottom of this triangle will be the angle that all of your other fabrics follow. (See my Part 1 Bonus Posts to see how the starting triangle determines how each overall block will look.)
 Note that the edges of the triangle are messy – this is fine.
3. Sew on the triangle, right side up, at the top left-hand corner of one of your 8.5 by 8.5 inch squares of muslin, with a 1/8 inch seam allowance

4. Turn the block over and using scissors, roughly trim it.
 before trimming
 after trimming (Note – the trimming doesn’t have to be perfect [that comes later].)
5. Cut out a rectangle of your next piece of fabric. It will need to be longer than you think it should be. Put this rectangle right-side down on top of your triangle so that the right sides are together.
 Note the imperfect cutting. No big deal. Just choose one fabric to follow for your seam allowance. I usually use the top one unless it’s really whacky. Once you’ve ironed it over, it will look perfect! If your top fabric is lighter than your bottom fabric, you will need to trim the darker fabric so that it doesn’t stick out past the seam allowance. Otherwise, it will show through when you iron over the top fabric.
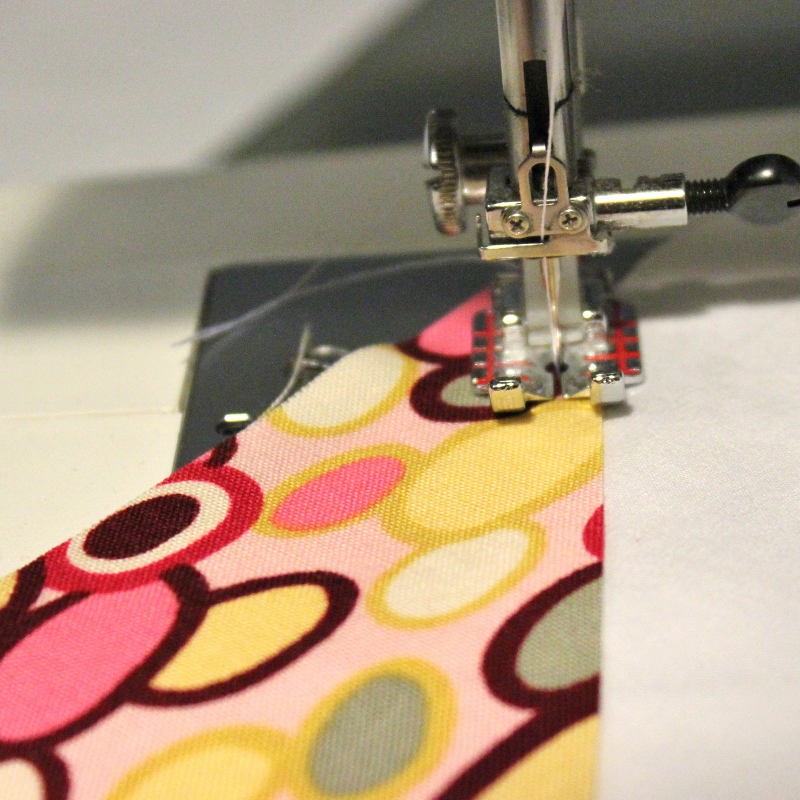
6. Sew it on with a 1/4 inch seam. Flip the fabric over and then iron so it lies flat
 (Note that I misjudged the length that I needed for the width that I had cut. So the rectangle doesn’t cover all of the foundation piece as it should. Rather than seam ripping and then cutting a new piece of fabric, I just trimmed this piece until it was narrow enough to fit all the way across the block.)
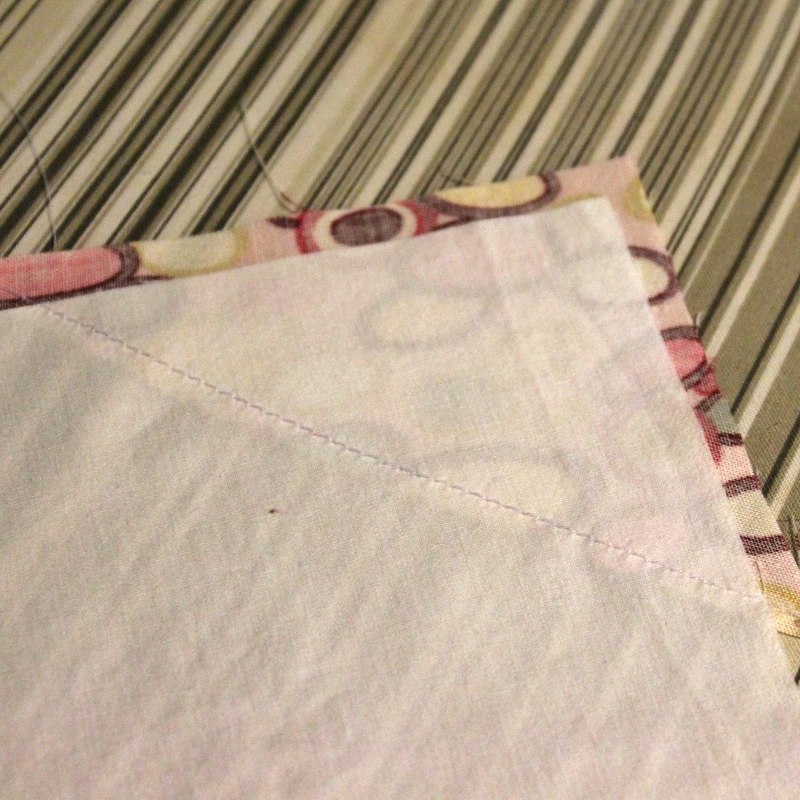
7. Turn the block to the back and trim. I usually iron on the back also before trimming. Turn it back over and admire your beautiful seam!
 You can see here where I cut the whole strip narrower so that it fits across the block.
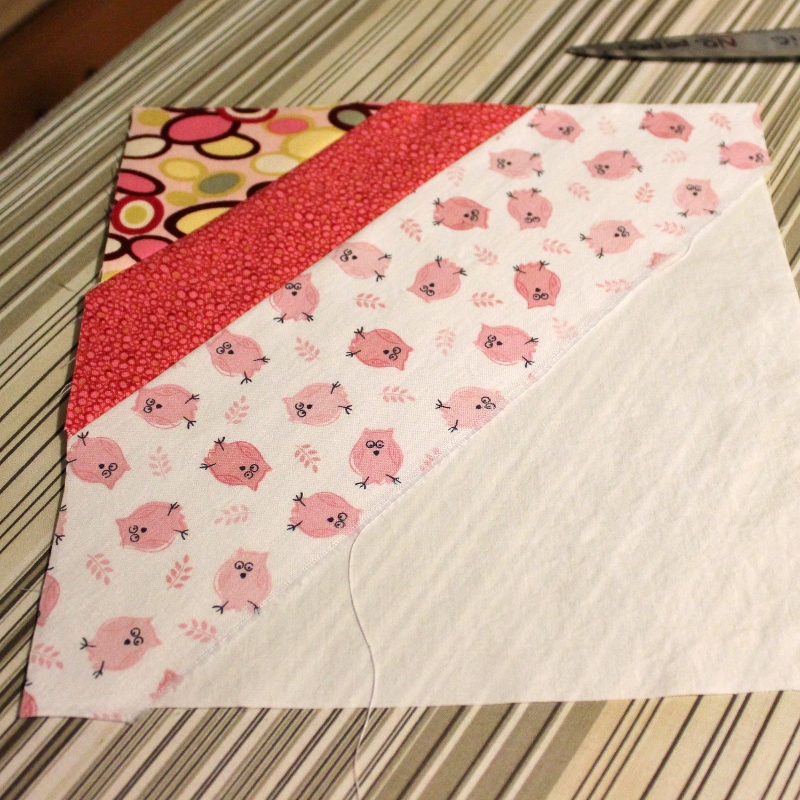
8. Repeat this process three more times. I often put the “object to be discussed” fabric as the third/middle fabric and make it the widest panel (but not always!)

Once you’re on the second half of the square, the pieces can be shorter than you think.

The final corner can be a triangle.

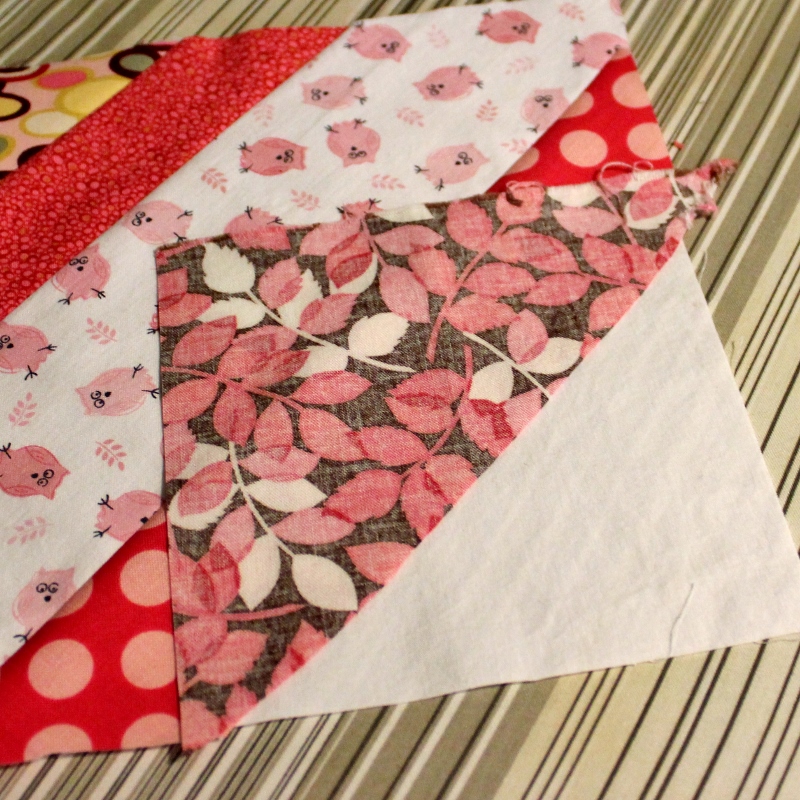
After you sew on the last piece, iron it over and trim as usual.

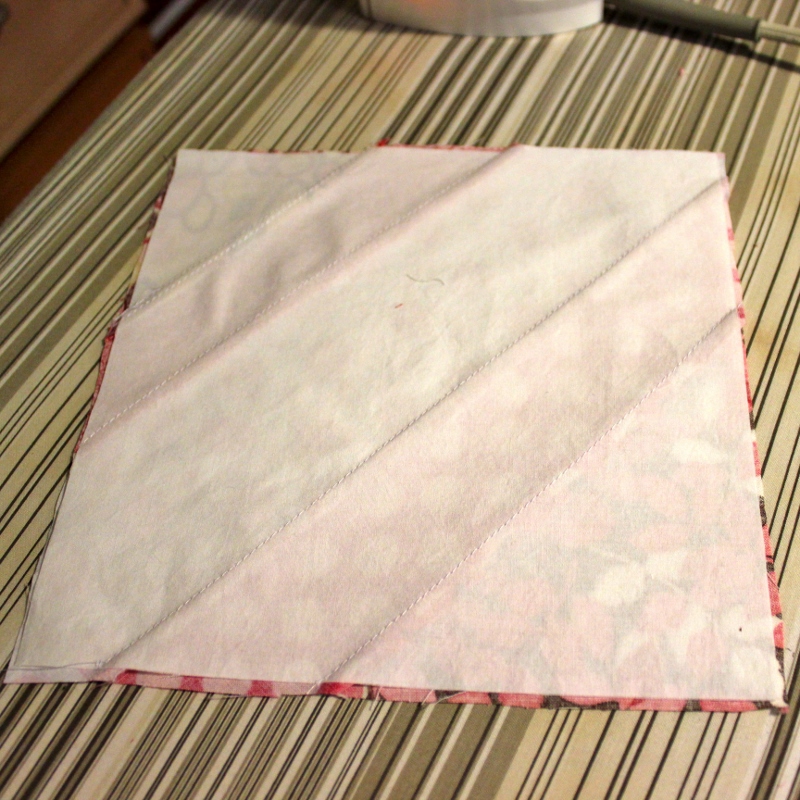
This is what the back will look like when you’re finished.

And here’s the front.
 Note that for visual interest, I tried to vary the width of the pieces so that I had some narrow strips and some wide strips. (If you go back to my two Part One, Bonus posts, you’ll be able to see the widely varying angles and widths that this method produces. I like this look but you could do a lot more precise measuring if you want all the pages to be similar. This will add quite a bit of sewing time though.)
Sometimes, you might make mistakes like this:
 This happens on the second half of the square when you don’t cut the strip long enough.
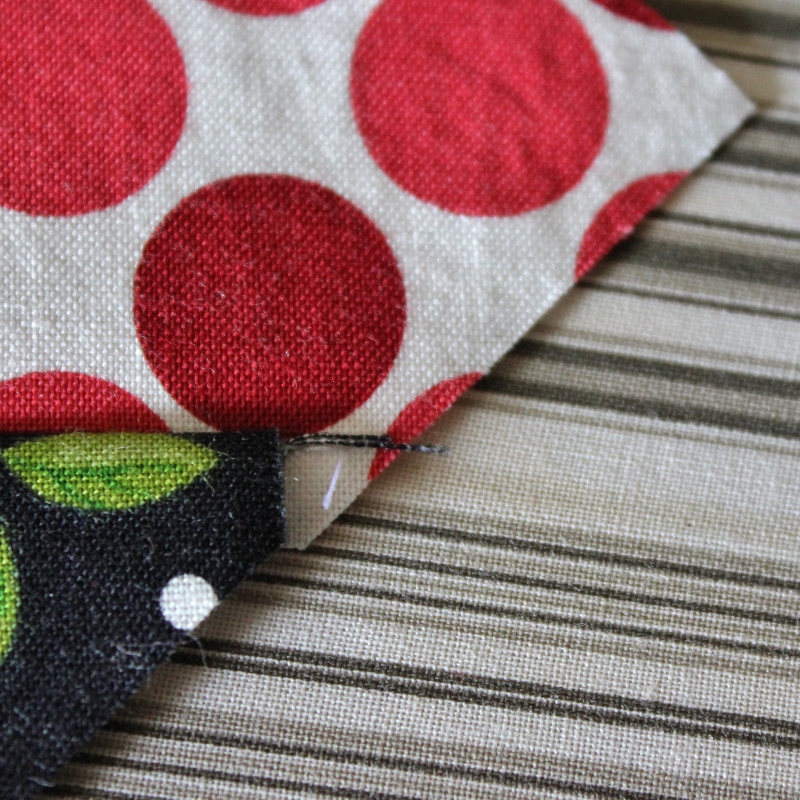
or even worse, like this: This happens with the last triangle when you misjudge the angle of the point of the triangle and/or just don’t cut a big enough piece.
In both case, this will be fine. No need to get out your seam ripper! We’ll be trimming down these blocks to be 8″ square, plus you’ll lose another 1/4 inch on all four sides when we sew the whole book together. So you do have quite a bit of leeway along the edges.
A couple more notes:
1. I try to make sure that my third fabric covers the middle two points of the square, just to make sure that I’m spacing out my fabric so that I won’t have to use a gigantic piece of my final fabric. Sometimes the angle of the strips is such that the middle piece only covers one of the two points and I don’t worry about that.
2. Pay attention to any directional fabrics that you have and make sure they’re going in the right direction. For example, look at the blue block in this post – I made sure that the trucks and the birds were both facing up so that they would look right in the block.
What questions do you have? Leave me a comment and I’ll try to answer them for you. You might want to practice with some scrap fabric just to make sure foundation piecing makes sense to you. It’s really easy once you get the hang of it. I think it’s easier than normal piecing, actually! I can do a block in 15 minutes or so. So it doesn’t take long to make enough blocks for a whole book.
Repeat nine more times with nine other colors and you’ll have
the 10 pages of your book!