
To learn more about the “why” of these quilts and for pictures of each quilt individually, please read this post.

After the earthquake happened and I decided I wanted to make these quilts, I set a couple goals for myself:
- a bold, graphic design (i.e. simple and fast)
- using as much fabric from my stash as possible
This tutorial by Emily Dennis of Quilty Love inspired me to make my own stripes from the embarrassingly vast stacks of Kona solids I’d been hoarding. Other than the flannel for the backing (from Joann) and 3 yards of Kona white plus about a yard for one of the bindings (which was purely a stylistic choice, I really didn’t need to buy it), all other fabric for all six of these quilts came from my stash. And, I feel the need to confess that although my green and gray piles are pretty small now, that doesn’t mean my solids drawer is anywhere close to empty. I guess I’d better keep on making quilts!
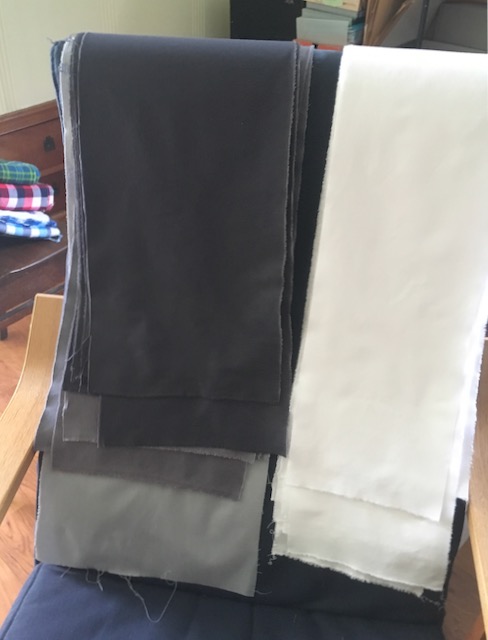
For days and days, all I did was cut out strips of solids (in a few different widths). Then I grouped the grays, greens, and whites together, sewed the pieces together into long enough strips, and then spent a lot of time on the floor puzzling out combinations.

There’s Ellie’s little project too!
In the end, I had enough gray for 4 quilts, enough green for 3 and enough white for 5, which ended up being enough for the six quilts I wanted to make. (That equated to 3 gray/white quilts, 1 gray/green quilt, and 2 green/white quilts.) Hooray!
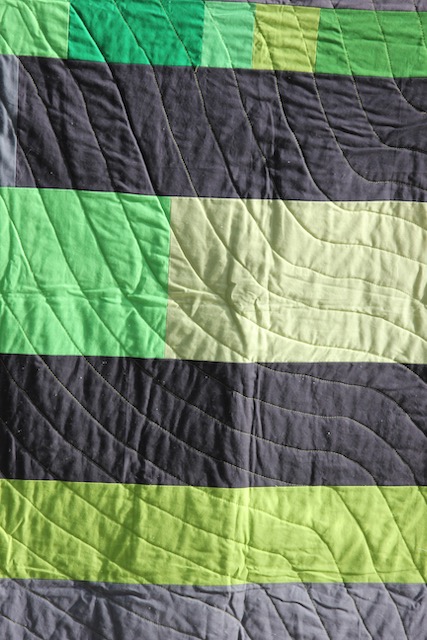
Having taken a walking foot quilting class in March 2019 with Jacquie Gering through the Baltimore Modern Quilt Guild, I wanted to try out a bunch of new quilting patterns. The first one I sewed was “organic curves”. I freehanded the first curve (marking with my Hera marker) and then echoed the rest.
During that process, the quilt top shifted frustratingly and that pushed me to give spray basting a try. I took Jacquie’s advice (spray outdoors on my driveway on top of an old sheet and then transport it in!) and it worked great. I may have become a spray basting convert, at least for big quilts.
For 3 of the quilts, I used the fancy stitches on my [not-fancy-at-all] sewing machine.


 I just quilted in straight lines but the decorative stitches resulted in really fun texture!
For the final two quilts, I used a normal straight stitch but worked off a grid, rather than just straight from top to bottom.


For the bindings, I also used solids (wanting the plaids on the back to be the only print in the quilt).
 Six quilts all together are heavy! Also, hi Jonas fishing in the background!
I did the vast majority of the quilting in about 10 days in July, in no small part thanks to my mother-in-law and her graciously rescuing me by taking my children off to her house for many, many hours. 🙂 By July 18th, I had finished all the machine sewing, just in time to take off for Alaska on July 24th.
 quilting finally finished!
Once we got to Alaska, I hand sewed down the bindings (six quilts in a week!) and basted on the labels, and after giving them away, asked for them all back so I could finish the labels off with a blanket stitch.

It was definitely the most sewing I’ve done in a long time but oh so worth it!

cousins snuggling under one of the quilts ❤

Pingback: “Earthquake Consolation” in six quilts | Salmon and Souvlaki