
These sourdough rolls are addictively crispy on the outside and have a lovely subtle sourdough flavor. I have a white sourdough starter, given to me by a Baltimore friend. It was given to him by a baker who he met in a bar in Vermont. So, we’re eating a bit of Vermont every time we eat these rolls!
I followed the original recipe’s method the first time and found that my rolls spread almost flat when following her technique (i.e. delicious but not very visually appealing). I had learned the following two-step baking process from a Cook’s Illustrated recipe for rustic dinner rolls and although it seems a bit involved, it results in perfectly shaped rolls with all-around crispy edges every time.
I also don’t see the sense in making a few rolls when I can make a lot and then have several meals worth in the freezer at once. If you have the luxury of extra freezer space, as I do, you’ll want to make the larger amount. They freeze and reheat really nicely. If you do plan to make the large amount but don’t have a large capacity stand mixer (as I discussed here), you’ll need to make two batches of the smaller amount. Your mixer bowl won’t be able to hold the larger amount. Once you’ve mixed both batches, combine them into one bowl and let them rise as if you had mixed them together.
Finally, although the process takes about a day and a half, there is very little hands-on time involved. So don’t let the “day 1/day 2” instructions scare you off!

[Almost] Foolproof Sourdough Rolls
As adapted by Laura from this recipe
Makes 30-34 rolls when using the larger amounts
Day 1, morning:
Refresh your white sourdough starter so that you’ll have enough mature starter to use in the dough in the evening. I keep around 80 g of white starter so that when refreshed, I end up with around 240 g. Then I have 150 g to use in the recipe plus around 80-90 g to save for the next time.
 My helper, demonstrating that these rolls don’t need much starter (before refreshing)!
Day 1, evening:
150 (75) g mature/refreshed white sourdough starter
1030 (515) g warm water
700 (350) g white bread flour
400 (200) g white all-purpose flour
300 (150) g whole wheat flour (use this amount regardless of your kind of WW.)
In the evening, combine the starter with the water and add all the flours. Mix in a stand mixer* until thoroughly combined. This will probably take around 5-10 minutes. Let the dough rest, covered by a damp cloth, for around 45 minutes.
 no need to take the bowl off of the mixer
30 (15) g salt
Add the salt to the dough and knead on low speed until well combined, probably around 4-5 minutes. Put the dough into a very large, well-oiled bowl and cover with a wet towel.
Let it rest for 30 minutes. Then fold the dough in half, turn the bowl a quarter-turn, fold it in half again, and then do this two more times.
Let it rest for another 30 minutes. Repeat the folding process again.
 after the folding (oil pooling is obviously OK)
Cover with the damp towel and let it rest at room temperature until the following morning.
Day 2:
**All the rising times for day 2 are very approximate. If you’re in a hurry, you can rush it. If you get distracted, the dough is very forgiving and so you can stretch out the times as needed.
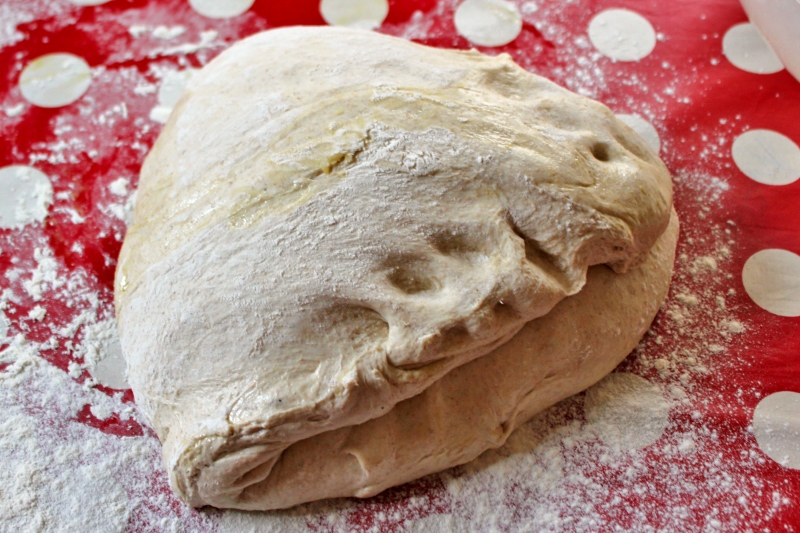
When you check it in the morning, it should have roughly doubled in size and you should see big bubbles around the edges. Don’t deflate these – you want them! For the rest of this process, you’ll want to handle the dough as gently as possible. We want every bubble the dough will give us. All the folding helps increase the airiness of the final product.
 yay! lots of bubbles!
Depending on the overnight temperature of your house, you may need to allow it to rise longer, until it has doubled. When it has risen sufficiently, gently transfer the dough to a well-floured surface and repeat the folding process again. Let it rest 10 minutes and then fold again. These two times, folding in half three times (rather than four) is sufficient. Gently flip the dough upside-down, sprinkle the top of the dough with flour, cover with the damp towel (which you probably will need to re-wet) and let it rest for around an hour.
 after coming out of the bowl for the first time
 after first fold
 after the second fold
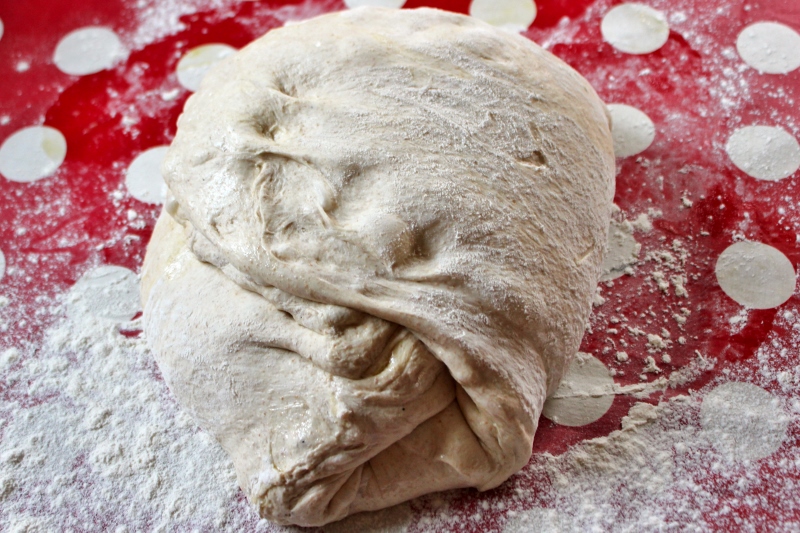 after the third fold (maybe that was folding in thirds instead of halves – same idea)
 after being flipped upside down (after the folding, 10 minute rest, folding again)
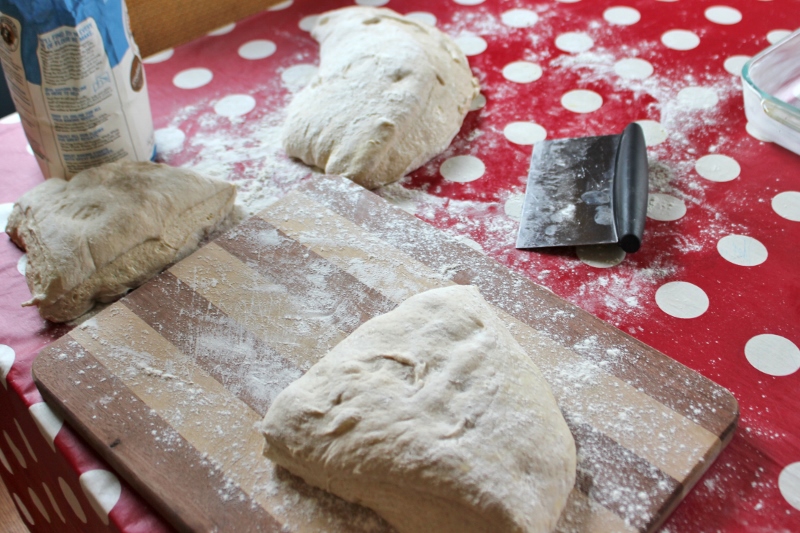
Grease two (or one for the small batch) 9×13 pans. Using a floured bench scraper
, divide the dough in half. Working with each half at a time, divide that dough in half and then each quarter into approximately 7-8 pieces, so that you end up with 15-16 rolls from each half of the dough. All your pieces will NOT be the same size. Embrace the variety!
 the smaller ones are useful for giving to the kids…
Before cutting each half into rolls, do your best to gently stretch the piece of dough into a rectangle. It won’t be perfect but will make the cutting easier.
 before stretching out
 after (slightly better at least)
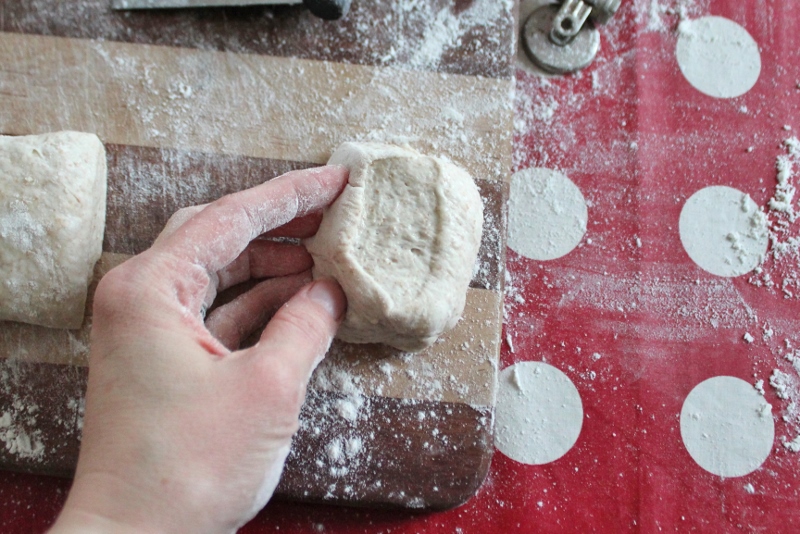
 cut off weird shaped pieces and form into a roll (tuck that tiny end under)
 working with one quarter of the dough at a time, cut into 7-8 rolls
 about the right size…
For each roll, well-flour your hands and make sure that each piece is really well-floured. The parts of the rolls that are cut will be particularly sticky. Add enough flour so that they aren’t sticky to the touch any more. Then gently toss each roll from one hand to the other to get off extra flour. Place each roll into the pan with the cut-side up.
 Place the roll into the pan cut side up for the cool “rustic roll” top.
Repeat for the second piece of dough (if making the large batch). Allow to rise for about an hour. The dough has a surprisingly large oven spring so they will get bigger through the baking process also.
 just after being cut, before rising
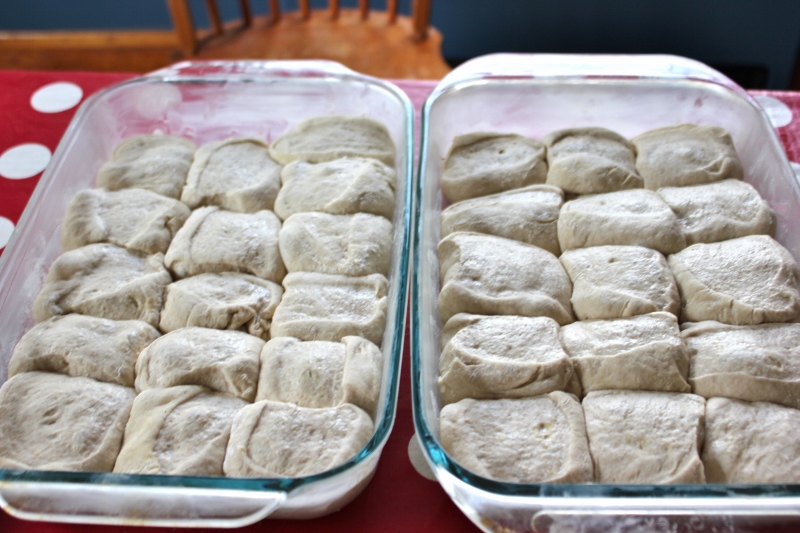 After rising for around 90 minutes, the change is slight but they did get bigger. (These rolls are also obviously from a different batch than the earlier irregular shaped ones. Some days my perfectionist side comes out more and I try harder to get them evenly shaped. Other days – I just don’t care.)
Approximately 30 minutes before you’re ready to bake the rolls, preheat your oven to 450 degrees.
When you’re ready to bake them, place the pans into the hot oven. Bake at 450 for approximately 10-15 minutes, rotating top to bottom and front to back after 7 minutes. You are watching for brown spots to appear on the bottom and top and for the dough to become set between the rolls.
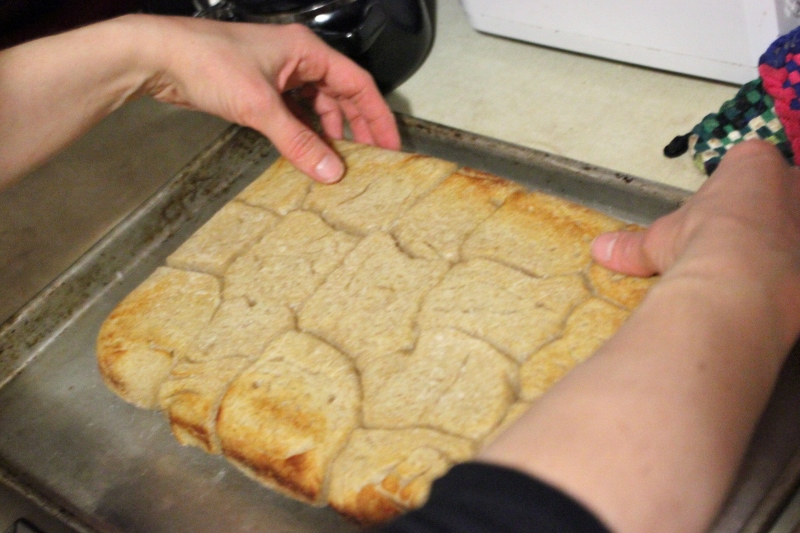
 what the edges of your rolls should look like
 brown spots just barely appearing on top, no raw dough visible
When this has happened, take the pans from the oven and flip each pan of rolls onto a half-sheet pan (which does not need to be greased). Flip the whole batch of rolls right-side up, then use two forks to separate the rolls. (They will come apart easily because you floured them so well before putting them into the pan.) Spread them out on the half sheet pan so they aren’t crowding each other.
 Work quickly so you don’t burn your fingers when flipping them over!
 after flipping
 Using forks – the dough is just barely set in between the rolls (and in places, still raw).
 Spread out on the pan to allow the hot air to circulate freely, for maximum crispness
Reduce the oven heat to 375 and bake for approximately 15 more minutes until the bottoms are well-browned. Serve warm or allow to fully cool on a cooling rack before freezing. If you are planning on freezing them and perhaps also have children who complain if rolls are too crispy, then you might want to under-bake them, just until the bottoms are barely browned. (Not that I know about that or anything.)
 what fully-baked rolls should look like
 your delicious final product!
 the lovely, airy crumb (texture) you worked so hard to create!
These are best stored in the freezer if you’ll be keeping them around for longer than a day. To reheat, take them out of the freezer and allow to thaw (if you have time). Place on a baking sheet and reheat in a preheated 400 degree oven until warmed through and crispy. If they’re still frozen, you may want to cover with foil for a few minutes until they’re thawed, to prevent the outside from become too crispy.
Enjoy! Just try not to eat them all immediately after they exit the oven! 🙂
**********
This is one recipe that will be difficult to make if you don’t have a stand mixer. The dough is exceedingly wet (or, in proper terms, has a very high hydration level). This is great because it allows for more steam creation while baking and lots of holes for the butter. It also means it’s almost impossible to knead by hand.
 I tried it the other night. It didn’t work.

Pingback: Caution: Disastrous Results Ahead | Salmon and Souvlaki
Pingback: Recipe: White Bean and Fig Salad (delicious for winter!) | Salmon and Souvlaki