
So, as it turns out, I actually have four more baby blankets I need to make (even though I’ve already made six in the last 4 months). Hooray for babies! So, while making one last week, I took a few pictures of my new cutting method, which is so much faster, I can’t even believe I used to cut them out the other way.
I used to fold, cut both sides, fold the other dimension, cut both sides, repeat for the other piece, and hope I cut them both exactly the same. In total, that’s folding four times, cutting eight times. (I feel crazy even admitting that I used to do it that way!)
My new method folds twice, cuts thrice. (See, it even rhymes!) Perhaps you already have this figured out. But in the event you make lots of flannel baby blankets, and need a cutting shortcut, here’s how you do it!
First, this method assumes that you have a rotary cutter, blade, and mat that measures at least 24×36. If you only have a smaller mat and you sew a lot, it’s definitely worth buying the larger mat. They often go on sale for 40-50% off at Joann Fabrics and then they’re not too expensive. I’m actually getting close to needing a new one, I’ve cut such deep grooves in mine.
This method also assumes that you are using well-ironed one yard cuts of flannel, which are 44″ wide (although it certainly would work for cuts that are longer than a yard). I highly recommend pre-washing flannel before using it because it shrinks so much (and sometimes seems to shrink inconsistently from one cut to the next).
The Method
1. Fold your first piece of flannel in half, matching selvedges ant one end (so that you’re splitting the long side in half). Shake it so that the flannel isn’t clinging to itself and is lying relatively flat. You will probably discover that your selvedge edges are not matched. This is because flannel in particular never seems to be cut straight.
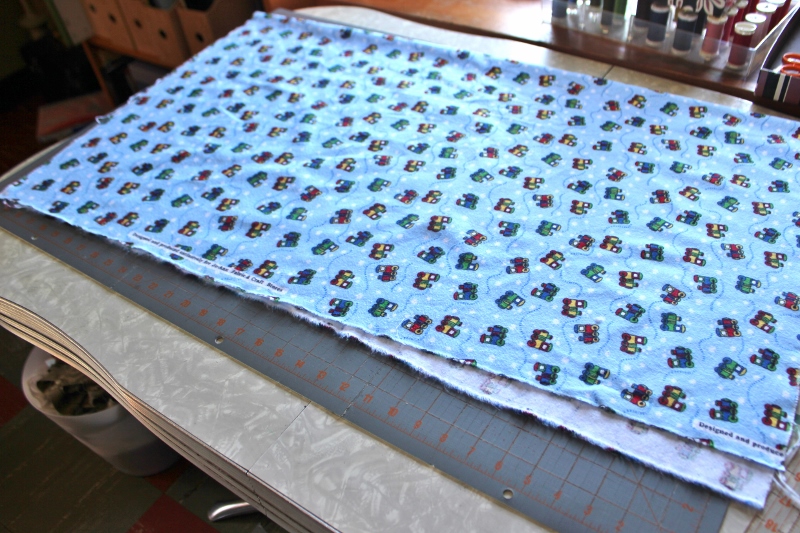 This one isn’t too bad; sometimes it’s much worse.
To fix this problem, you’ll need to pull the uneven edge down and over until it meets the selvedge and lies flat at the fold. This process is called truing up and it’s important to do it anytime you’re cutting anything with a fold so that the edge is straight from end to end (rather with a little curve where it’s not folded true.) After you’ve done this, carefully smooth out all the wrinkles until the top piece is completely smooth.
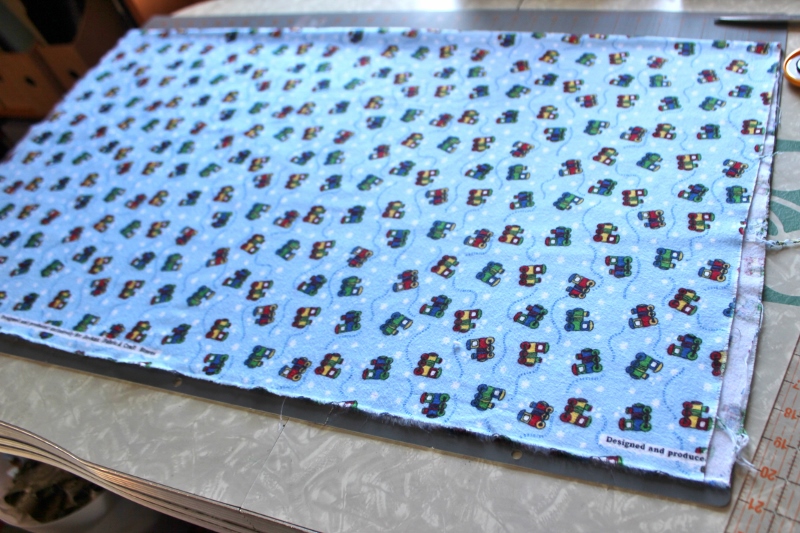 Notice the folded edge (at the top) – it’s lying flat, and there are no ripples in the fold. You may have to adjust the bottom edges to get the selvedges straight against each other with the top fold perfect.
Then flip it over and discover that flannel is infuriatingly difficult to work with (particularly for perfectionists) because it sticks to itself and doesn’t smooth out easily. So smooth out the back side until it’s lying smoothly too. Then flip it back to the front, smooth that out one more time and set it aside.
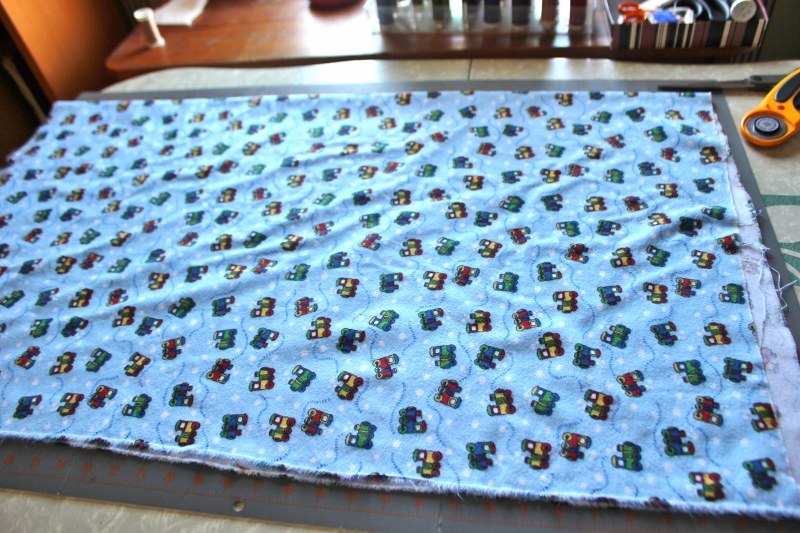 the back of the same piece that looked so smooth in the picture before
2. Repeat this truing up/smoothing step for the second yard of flannel.
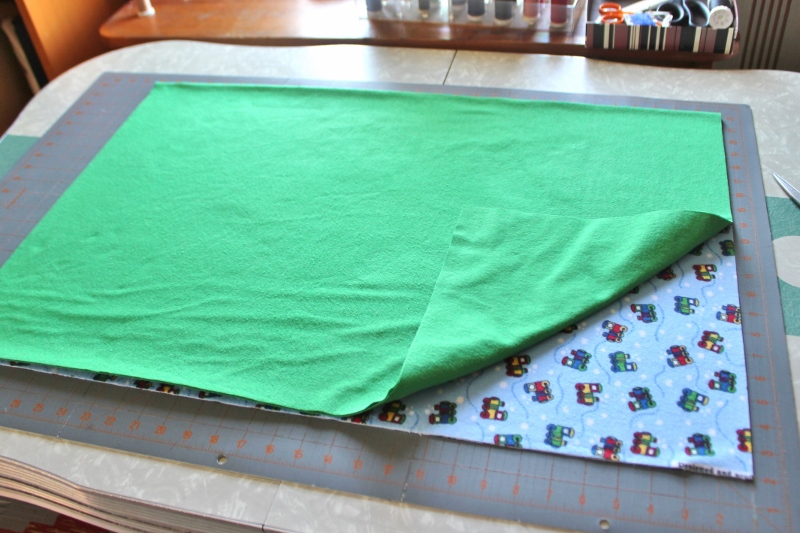
3. Place one folded/trued/smoothed piece of flannel on top of the other piece, lining up the folded edge (ignoring the selvedges). This is the trickiest part of this method because the edges are a little poufy and it’s hard to get them perfect. Do your best – I usually just fold them down with my big ruler or my hand to see if they’re lined up. Then smooth out all the layers of fabric until they’re lying flat. Even though you already did this three times with each piece, the fabric will still catch on itself. So smooth carefully!
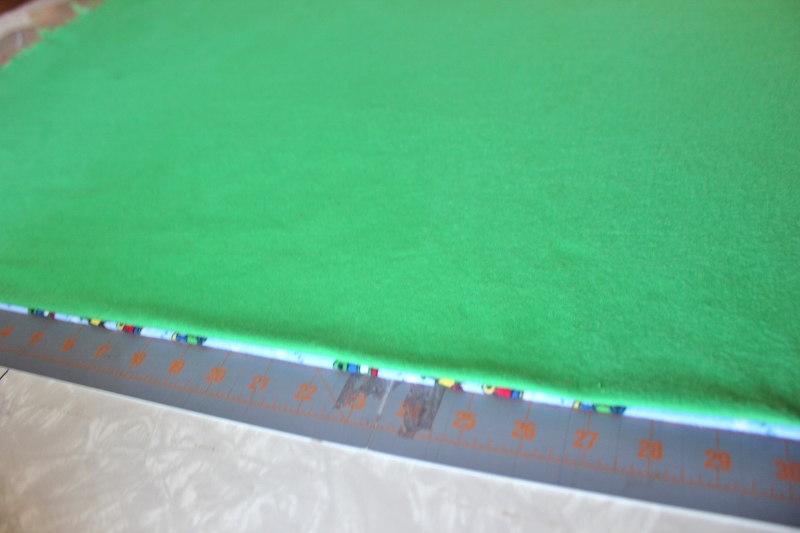
Also, pay attention to your cut edges, where you probably have some unevenness due to the truing up process. Just be sure that the short edges of your fabrics are lined up so that you’ll be sure to be cutting through four layers of fabric. 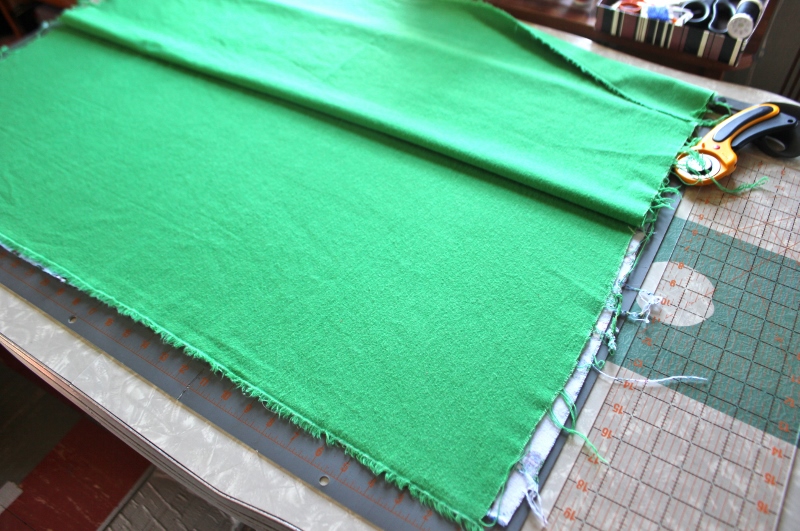 Smooth the bottom half of the top piece of fabric to make sure it’s not caught on the bottom piece. (I know, I’m obsessed with smoothing. But it does help the final product!)
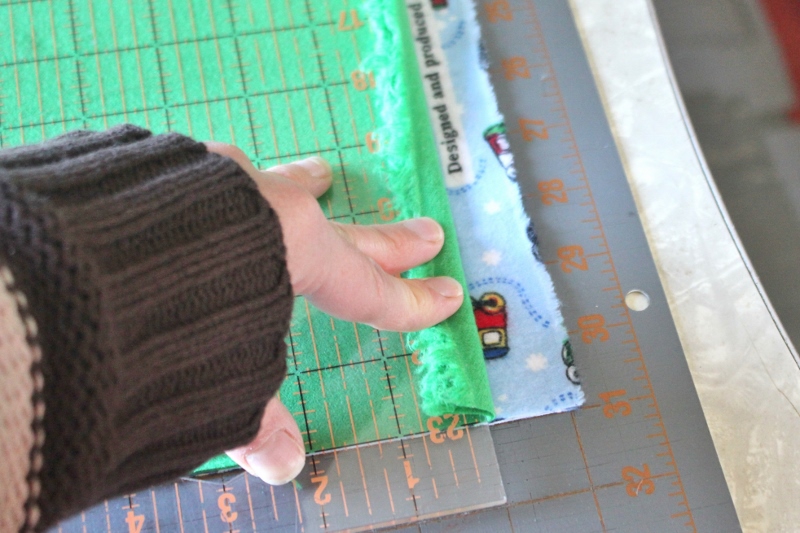
I like to line up my fabric so that I use the 1″ cutting line. This is me making sure that all my edges are overlapping the one inch line. 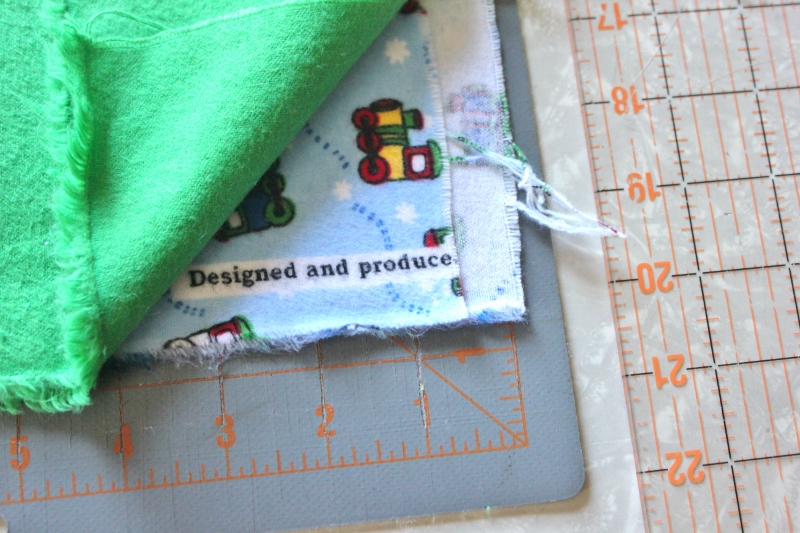
4. Finally, you get to make your first two cuts! (All this set up is worth is because the actual cutting time is minimal.) Of course, I managed to forget to take a picture of this actual cutting step but it’s easy. First cut the short ends of the two fabric pieces (i.e. don’t cut off the selvedges yet – opposite the fold). I usually make my blankets about 30 inches wide so I cut off at the 1″ and 31″ lines on my cutting mat. This leaves me with two nice scraps which I can use for cloth wipes. Alternately, you could just cut off as little as needed to have two even sides.
5. Now cut the bottom (selvedge) edge. When deciding where to cut, make sure you cut off any words that might be printed along the selvedge edge. I like to lift up my top piece to make sure I’m avoiding the words on my bottom piece. I generally end up cutting at about 20 or 21″ (i.e. for a 40-42″ blanket). I have a 6″x24″ ruler, which is pretty big but I still have to move it once, mid-cut, to get the whole bottom edge cut off. Just use the lines of the ruler to make sure you’re cutting a straight line.
And there you have it, a beautifully cut out, ready to be sewn baby blanket in just three cuts! I’m really going to be an impressively efficient baby blanket maker now!
 And yes, sharp eyes may notice I didn’t take my own advice and I managed to leave in some of the words on one end. No matter – they got eaten up in the seam allowance.
To actually sew the blanket? Sew around all four edges, using a 1/2″ seam allowance and leaving a several-inch turning hole in the middle of one of the sides. Clip the corners, turn right side out, push the corners out with a chopstick or turning tool, iron the edges very carefully, and top stitch to close the turning hole. I like to do a triple top stitch – at 1/8″, 1/4″, and 3/8″. It makes a nice, solid edge.

Are you possibly related to me?! This is exactly how I do it! Every step!
Pingback: March/April Sewing: Seven (that’s right, 7!) Baby Blankets | Salmon and Souvlaki
Pingback: Would 10,000 Hours of Sewing Flannel Blankets Really Be Enough To Achieve Perfection? | Salmon and Souvlaki